Using BIM 360 in a Civil 3D Project
Collaboration for Civil 3D:
Autodesk Collaboration for Civil 3D allows project teams to collaborate on Civil 3D data shortcut projects in BIM 360. Securely collaborate on Civil 3D files, data shortcuts, and Xrefs in one location, with easy design review in a web browser.
Accessing drawings from Civil 3D:
- The Autodesk Desktop Connector allows you to access and create BIM 360 files and folders from Windows File Explorer. You can therefore open and save drawings from Civil 3D in the usual way.
- BIM 360 projects and folders can also be found in the start menu within Civil 3D. Files that are in use will appear as locked, with an indication of who is working with the drawing.
Sheet sets:
DST files containing sheet set data can be accessed and locked from a BIM 360 folder. Uploading a DST file to BIM 360 will upload the related drawings in the sheet set, and opening a DST file using Desktop Connector will sync them.
Collaboration:
BIM 360 makes the collaboration between team members or across different teams during a project seamless. Project members are added to the project and given permissions at a folder level.
Civil 3D drawings can be viewed on a web browser with full access to the properties of the objects, including property set data. Issues and markups with an optional deadline can be generated and assigned to a project member, who will receive an immediate notification via email.
Getting Started with Civil 3D Cloud Collaboration:
Historically, Civil 3D projects have been created and managed on a local server. This setup continues to work well for teams that are all working under one roof. If, however a project team includes stakeholders working in another office, or another state, or even from home, the local server restriction makes it challenging for these workers to access project files and ensure everyone on the team is working from the current design.
Today, using BIM 360, Civil 3D projects can be hosted in the cloud allowing distributed teams to easily access and edit live models. In addition, cloud based projects are managed virtually the same as traditional projects hosted on a local server making it easy for users to acclimate to the new system.
That being said, this is a brand-new collaboration method for Civil 3D with rapidly unfolding workflows and functionality. If you are interested, I’ve created a series of videos to help you evaluate the solution in its current form and identify the best way to leverage this technology on your projects.
Hope this is useful to get started with cloud for Civil 3D.
For more information and collaboration, contact us on 9007776071 or mail us at sanchita.pal@trisita.com!

Overview of Our Steel Services
We the TRISITA Team provides the cost-effective and quality service definitely helps companies not only to bid profitably but to deliver quality service to customers.
Let’s look at the specific advantages of outsourcing Steel Detailing Services:
-
Quality Drawings:
Structural steel may be used for homes, industrial buildings, bridges, and more. The detailing services require in-depth drawings. If you don’t have anyone on your team that understands how to use 2D and 3D drawing software properly.
-
Time Savings:
It can be time consuming to create the various drawings and details.
Instead of spending all of that labour, you can outsource and let a professional company provide you with all of the services that you need.
-
Cost Savings:
The cost savings can be significant. You won’t have to hire an
engineer and invest in CAD software if you choose to outsource. This will ensure your needs are met without having to hire someone for services that you may only
need periodically.
-
Better Reporting:
One of the first benefit is that you will be able to get better
reporting. There are a variety of reports that can be created when premier software is used. This includes material summaries, gather sheets, and more. It will ensure that everyone is on the same page. It will also allow those within fabrication to know exactly what needs to be created while those in finance will be able to attach a value to it for budgeting purposes.
-
More Convenient Information:
The information that you received from a third party can ensure that the Tekla steel detailing is available when and where you need it the most.
-
Quality Tools:
Finally, more tools will be available at your fingertips. The drawings can be integrated into a variety of systems. These will be used not only by the fabrication shops but also by facility managers once the project has been completed. The more drawings and detailing you have, the easier it will be to keep everyone in the know.
In today’s dynamic and fast-paced construction industry, fabricators are racing to complete their work as they are faced with tighter construction schedules and have longer material lead times. Nowadays, steel fabrication shop drawing can be taken care of with different types of advanced detailing software thus saving time and money.
Hope this helps you in understanding Trisita’s Steel Setailing Services. Find out more about our services and products on our latest blog page.

What’s New in 3DS Max 2021 Workflow?
CIVIL VIEW WORKFLOW:
Automatically populate parametrically generated details such as animated vehicles to scale with your environment.
Using Civil View for Autodesk 3ds Max Design Software to Visualize AutoCAD Civil 3D Designs:
Civil View enables visualizations created in 3ds Max Design to react to frequent design changes made in AutoCAD Civil 3D. This opens the potential for the creation of high-quality visualizations to become an integral part of the design process, since civil visualizations created in Autodesk 3ds Max Design can evolve in tandem with design models created in AutoCAD Civil 3D. This document intentionally uses terminology familiar to civil engineers, and more specifically to AutoCAD Civil 3D users.
The primary aim of the paper is to demonstrate how high-quality visualizations can be developed more rapidly using a workflow integrated with the design process in order to display projects for public consultation and design validation purposes. The aim of this paper is to help dispel the myth that the production of civil engineering visualizations is a complex and time-consuming task that should be left to visualization experts. It will also describe how these techniques can be used to help improve the quality of designs in general to help evaluate the environmental and visual impact of projects.
Design Visualization for Civil Infrastructure Projects:
The key to driving the use of design visualization for civil infrastructure projects is to put the visualization tools in the hands of engineers and designers. Traditionally, this type of work has been outsourced to specialist visualization bureaus. However, these services can be prohibitively expensive—particularly when you consider the problem of incorporating frequent design changes into the visualization.
The Civil Visualization Workflow in Detail:
The workflow described in this document deals specifically with using 3D content developed using the modeling and design tools within AutoCAD Civil 3D. By adopting a modelbased design approach in AutoCAD Civil 3D, a strong basis for the development of compelling rendered visualizations already exists.
Civil View Interface Overview:
Civil View appears as a drop-down menu item in the Autodesk 3ds Max Design menu bar. The Civil 3D model data is imported from this menu and the Civil View Explorer panel is launched from this menu. The Civil View Explorer panel acts as a primary focal point for the tools that are accessible via Civil View. In the Explorer, all of the scene objects may be accessed. The right-click menu is contextsensitive to the objects and displays the available options for the selected object type. The primary purpose of this panel is:
- To provide a near instant snapshot of the scene contents at particular moments
- To provide access to almost every Civil View command through a combination of contextsensitive rollouts and right-click menus
The Key Civil Visualization Steps The civil visualization process can be divided into five key steps:
- Transfer of AutoCAD Civil 3D data to Autodesk 3ds Max Design
- Adding further 3D content to the scene using Civil View
- Lighting the scene in Autodesk 3ds Max Design
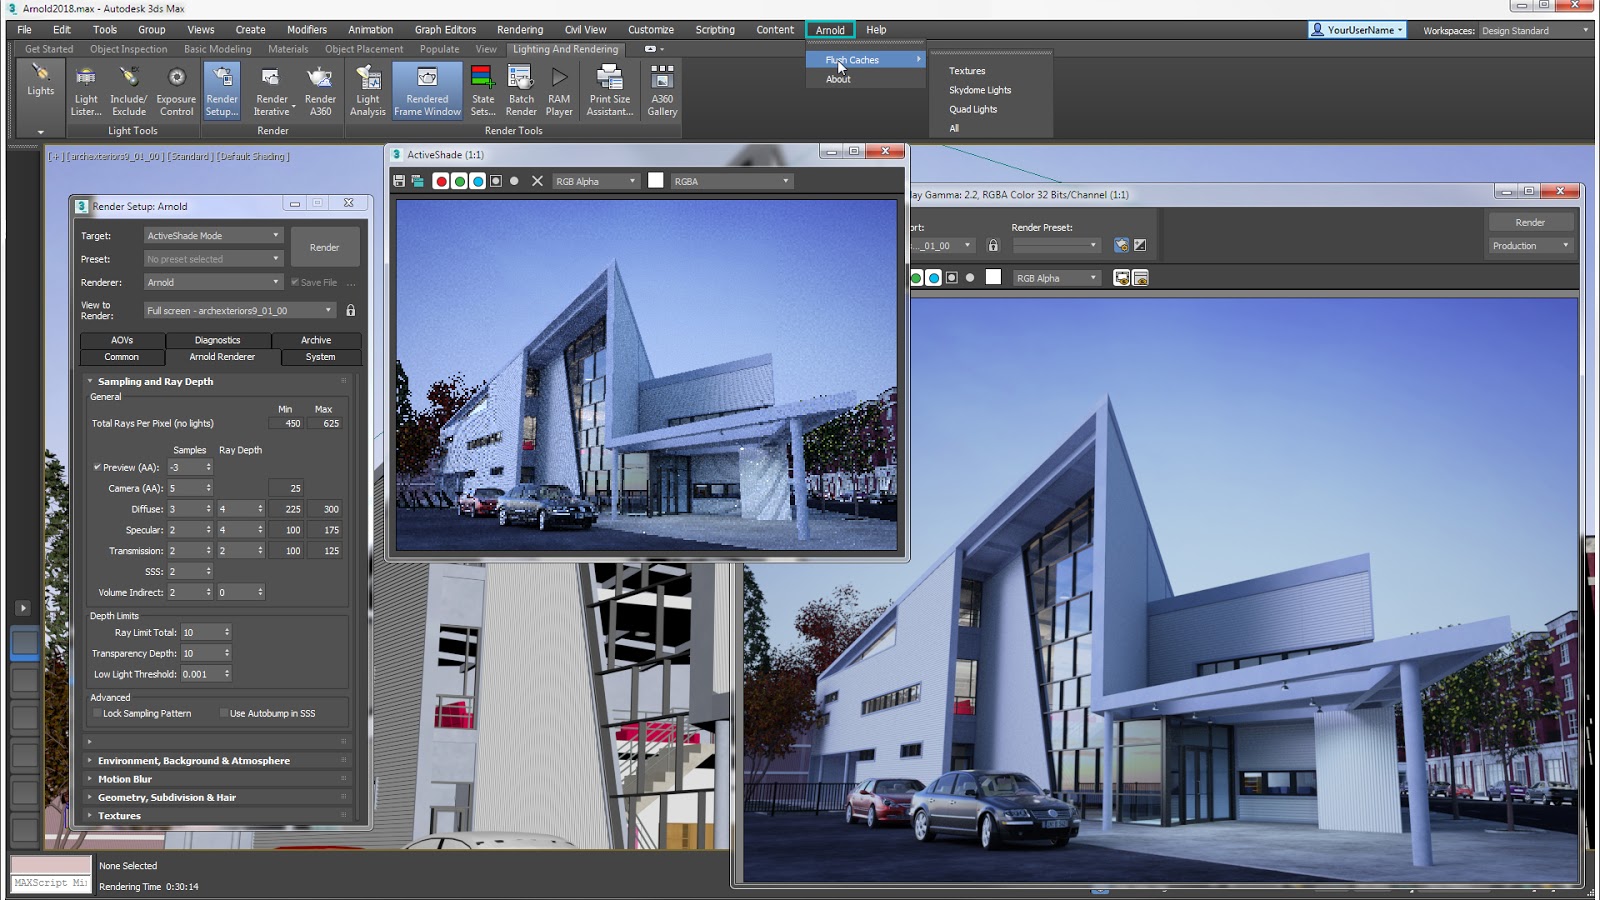
- Rendering in Autodesk 3ds Max Design
- Incorporating Civil 3D based design changes into the visualization with Civil View
Learn more about our other softwares on our latest blogs!


